January 14, 2012

Update on Office - working on the floor

Hi all - I have been working on the office and have almost completed the flooring.  I had to run out today and buy a few more tiles.  Originally I was only going to tile around the edges as I have a rug that almost fits the room.  Then I started the peel and stick tiles and I loved the look so much that I decided to do the whole floor.  I'm probably going to forget about the rug now.  I'll show you the pictures but it really didn't photograph well.  I'm not sure if this is because I took it in the evening or if the photo just shows the flaws more clearly ;).  I have to say that the floor is in terrible shape - very bumpy and the room is definitely not square!  Anyways enough excuses...


I also painted the "baseboards" white.  I didn't want to spend any money on this so I used some old cottage-grade tongue in groove panelling and painted them white.


First piece of trim installed and don't worry, I'll  be ripping up those tiles closest to wall and redoing them!
Tomorrow I'm hoping to get an early start and finish the floor and trim.  Then I can start replacing the furniture and clean up my basement.  It's an awful mess and you can barely move!  Soon I'll get to the fun stuff...

Julie

January 10, 2012

Office/Sewing Room - Wallpaper!!!!!!


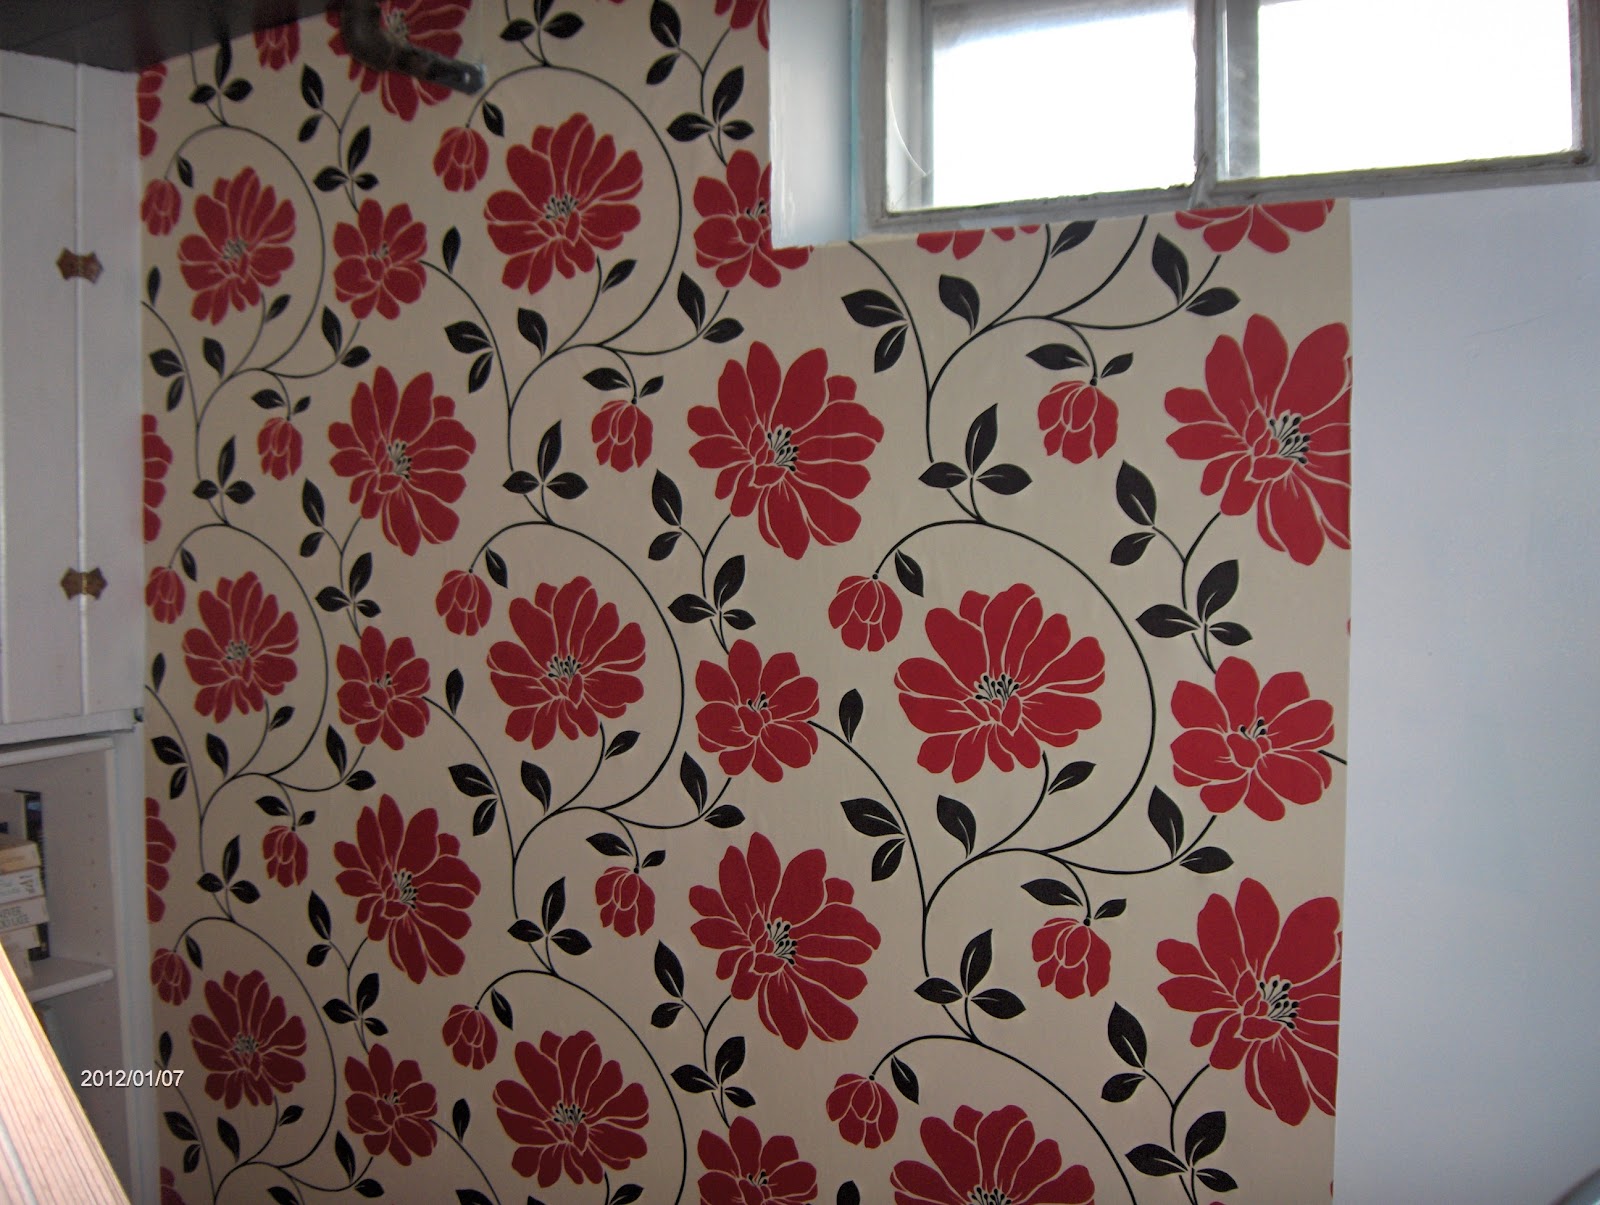
This is the window wall in my office.  I wallpapered it today and I'm so happy!  I love it even though it is far from perfect.  The wall is really not square and the drywall is quite rough and uneven.  Fitting wallpaper around the pipes was a nightmare.  I tried patching some of the holes but the wallpaper didn't want to stick to the patched parts.  In order to make it easier, I pieced the wallpaper around the pipes on the right of the window.  I'm going to buy a glue stick when I am out tomorrow to fix some of the paper around the pipes and I'm going to buy the clear plastic doorway trim for wallpaper and put it around the window.

The first strip goes up
Fitting the wallpaper around the window
Curse those pipes!
I will look up the pattern and the cost later and add it here...Hi again, it is a Blue Mountain wallcovering - no name but stock number is BC1582028 and it costs $30 a single roll.  Of course, they only come in double rolls and I needed 2 singles and a little bit.  I had to buy 2 double rolls so I'll have to come up with some creative ways of using the rest of the paper.

I can't wait to get the "bones" of the room done so I can play.  I have the floor and trim to finish and then I am playing - lots of crafting projects for this room.  I'll make sure to show you the before and afters.  Talk to you later...

Julie

January 09, 2012

Office Part 2

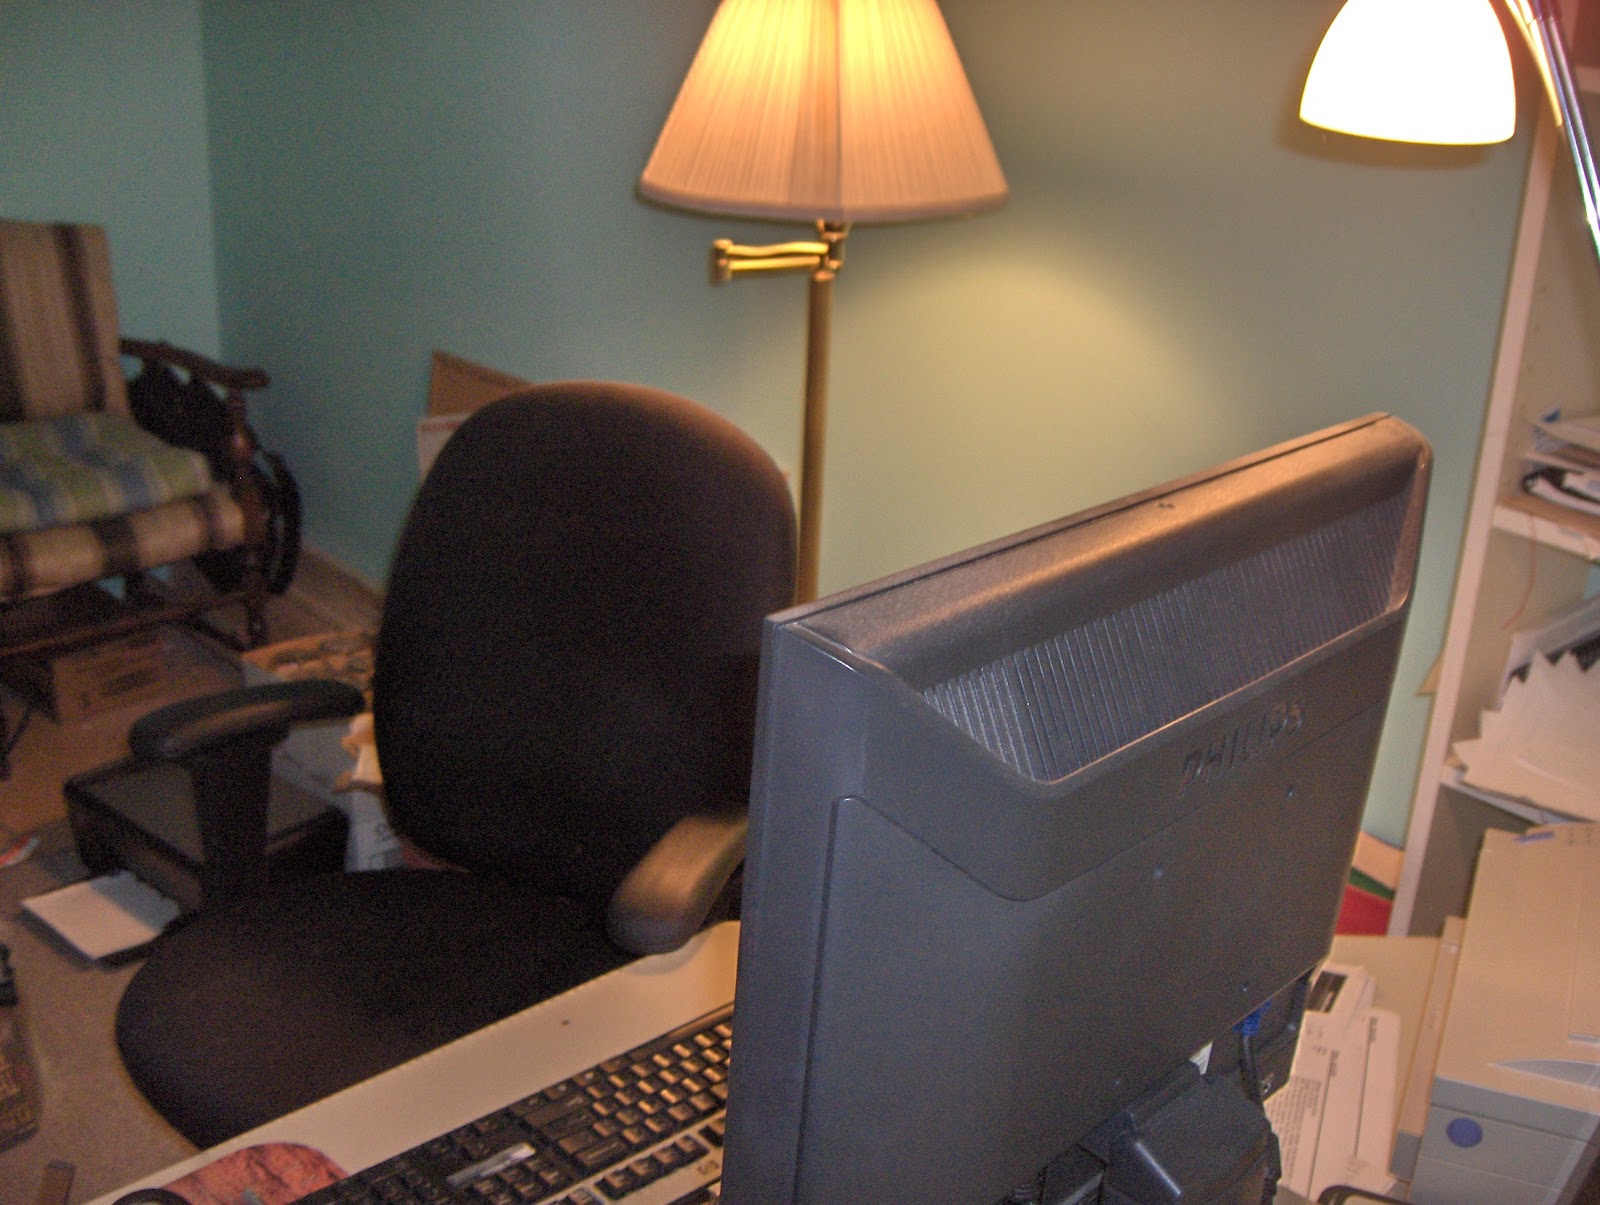
Well I'm going to post pictures but you won't be impressed yet.  I have painted the ceiling with Pencil Point from my kitchen and the walls have now been done with Contractor's White (horrible name - don't know why Benjamin Moore changed it from Decorator's White!).  The wall with the window only got one coat because I am going to wallpaper it.  That will be a challenge with all those pipes...

I was at Home Depot today and I bought a quart of Behr's Cherry Cobbler for painting furniture.  I got a new black knob for the door and thin cove moulding to tack up at the top of the wall for a cleaner look.   The ceiling is very old and uneven but I have had the room insulated and drywalled.  I'm so excited about this room and I can't wait to get to the point of doing the "pretty things".


Julie

January 07, 2012

Finally Started Office/Sewing Room


Well I finally started the office today.  I trucked almost everything out of here yesterday.  So now the downstairs hallway and my bedroom look like a hoarder lives here!  I got the ceiling painted today and the grey looks so much better than the green did.  It really does help to hide the ugly pipes.  I can't wait to start the walls tomorrow. See the finished ceiling below but bear in mind that the paint wasn't dry.

January 05, 2012

Kitchen Comforts


I was out yesterday shopping at Craftworks at the Barn - it is a large consignment type market with antiques, vintage finds, handcrafted goods and Amish furniture.  I got this magnet for the fridge.  Laughter is the best medicine and I aim to have a good laugh at least once a day.


I bought this Pyrex refrigerator box for $6.  We are using it as a butter dish and it helps carry on my red, white and black theme.


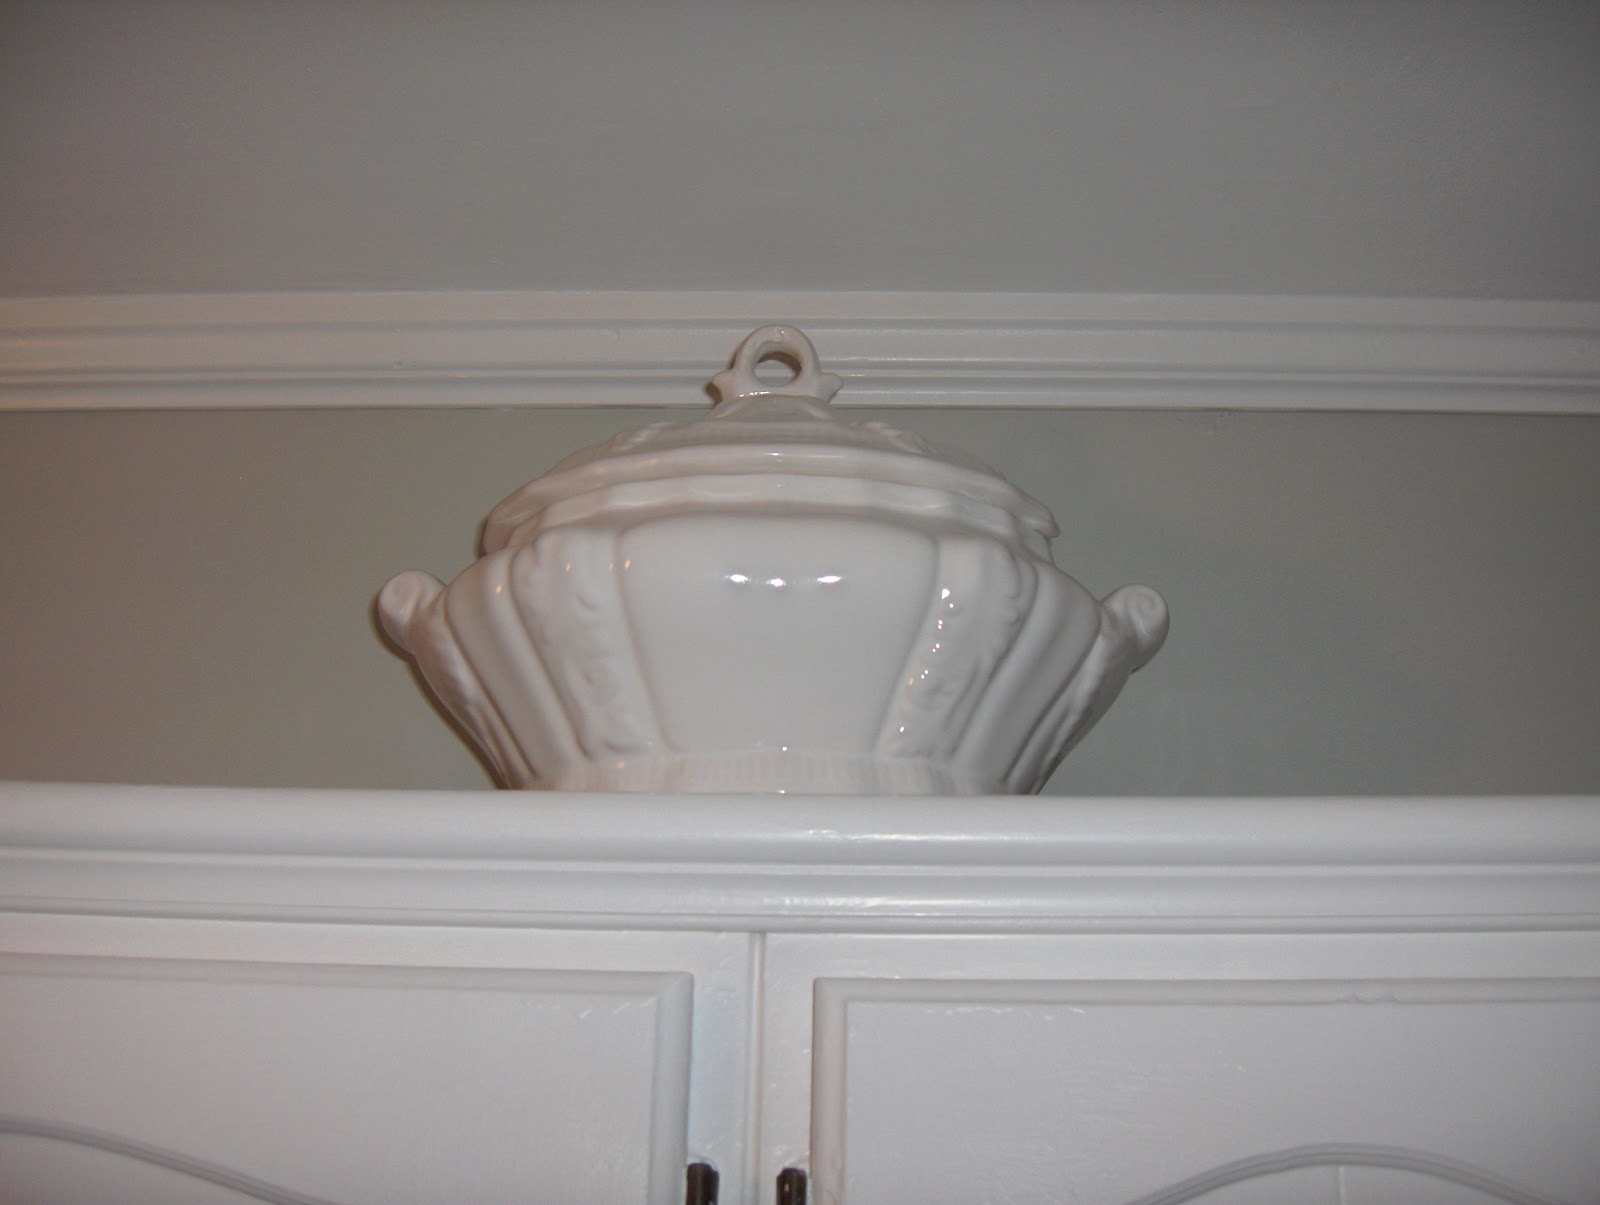
I was also really thrilled to find this ironstone soup tureen in my own cupboard!  It was a gift from my cousin and it's perfect above the cupboard.  I also found some napkins I bought about 20 years ago that are embroidered with the sweetest little strawberries. 


I'm starting to think I should just clean up the cupboards and drawers and do my shopping at home from now on.  :)

December 23, 2011

My (Almost) Finished Kitchen

Finally, I have completed the kitchen - at least as much as will get done before Christmas.  We've already had 2 parties and everyone has been very complimentary about the new design.  Comments like - "It looks so much bigger", "The cupboards look like they have replaced", "The new rack is my favourite", "I can't believe you installed the range hood yourself", "It feels very French", "It looks like a page from the IKEA  catalogue" and "The wallpaper looks like bead board" (a couple of people are already going to borrow this idea).

I'm very happy with the results.   It  was a lot of work but really a cheap project and I have great satisfaction from having done the work myself (with  a little  help from my sister assembling the rack and from my mother holding the range hood while I wired it).

Here's the finished photos...

This is a view of the cupboards while standing in front of the rack.   The hardware was already existing from a previous reno but the cupboards were painted (Behr Pencil Point).  The grout in the backsplash was whitened up with a great product I bought at Home Hardware.  I still need a new paper towel holder in stainless and a new container for utensils.  I haven't decided if I'm going to splurge on a new granite or marble counter or if I'm going to try painting this one.

Here is my beautiful new stove which was the impetus for the whole redecorating.  There's the new range hood I installed!!!   It came from Home Depot.  The tea towel was from IKEA.


A friend bought me the Fire King batter bowl which I love but it is too small for  the top of the cupboards.  The red vase I got from IKEA is not special enough so I still need to buy 2 decorative pieces for  here.


Here are several views of my rack.  The red boxes came from Jysk and are painted in a Sarah Richardson paint (Orchard) but they do need another coat.  The black striped boxes are from IKEA as are the two canisters on the same shelf.  The oven mitts are from Homesense.  The floor is just peel and stick 12 inch tiles that I did myself.  I did install quarter round on the baseboard which gave it a more finished look.  The black rack holds so much more than my old white utility unit (which now has a home in the basement) and makes the room feel larger.  I replaced the trim around the stairs with black rubber edging.  Eventually the wall going downstairs will  be painted the same grey as the kitchen and the carpet will be replaced with grey as well.  The print of London at the top of the stairs came from Bouclair.  My cousin was here visiting on Wednesday and came via London.  He said that corner was just outside his hotel.
Here's a view of the side door and the new drapes I made.  You'll notice I painted the railing black.
Here's the wall at the top of the basement stairs.  You might remember this is the one with the crack that kept reappearing.  Now it is covered with a wallpaper.  The rack was in my bathroom when I moved in and I painted it the same colour as the bottom cupboards.  The tea towels are from IKEA and the apron is one I've had for a while from a local restaurant supply store.  I need something to go on this wall above the paper.  I'm hoping to make a trip the Carriage House Antiques soon to see if I can find a suitable sign or picture or architectural remnant.
I hope you like what I've done with my kitchen.  It was a lot of work but felt so good to make these changes "on the cheap".  Stay tuned for pictures when it is completely finished.  Below is the accounting of my costs (which don't include tax)...

Paint and painting supplies.............$140
Black wire rack.................................90
Flooring............................................35
Black rubber trim..............................30
Baseboard trim...................................6
(I had some from Restore in basement  already)
Wallpaper.........................................35
Range hood.....................................100
Boxes..............................................36
Drapes.............................................65
Grout paint........................................7
Canisters..........................................20
Tea towels and oven mitts..................20
Print..................................................23
Star....................................................7
Vase...................................................2

Total Cost.......................................$616

December 03, 2011

Office/Sewing Room


No, you are not watching an episode of "Hoarders".  What you are witnessing will one day soon become a beautiful office and sewing room.  Right now, it has unfortunately become the dumping ground for everything in the house that doesn't have a home.   Today I am going to start the cleanup.

Originally I had planned the decor of this room based on a pair of mint green and pink floral Ralph Lauren drapes.  The ceiling was painted dark green because it is a basement room with those lovely cardboardy ceiling tiles and had dark pipes and wires running along it.  I was trying to disguise the ugliness with dark paint.  The walls were painted the mint tone that matched the drapes.  The cupboards were painted white and I had some bookcases installed.  I had purchased trim for crown moulding, baseboards and door frame but hadn't got them installed yet.  Then my furnace died.  That meant that due to new specifications, I now had holes cut in the walls and large plastic pipes running not just along the ceiling but dropped down into the room.  Major ugly and demoralizing.  That was a year and half ago and I couldn't get excited about doing anything to this room.  However, a solution is long overdue and the planning has started.


Stay tuned to see how the ugly duckling becomes Cinderella!

The day's work is at an end and the room's already looking better...


Kitchen Redux Part 2


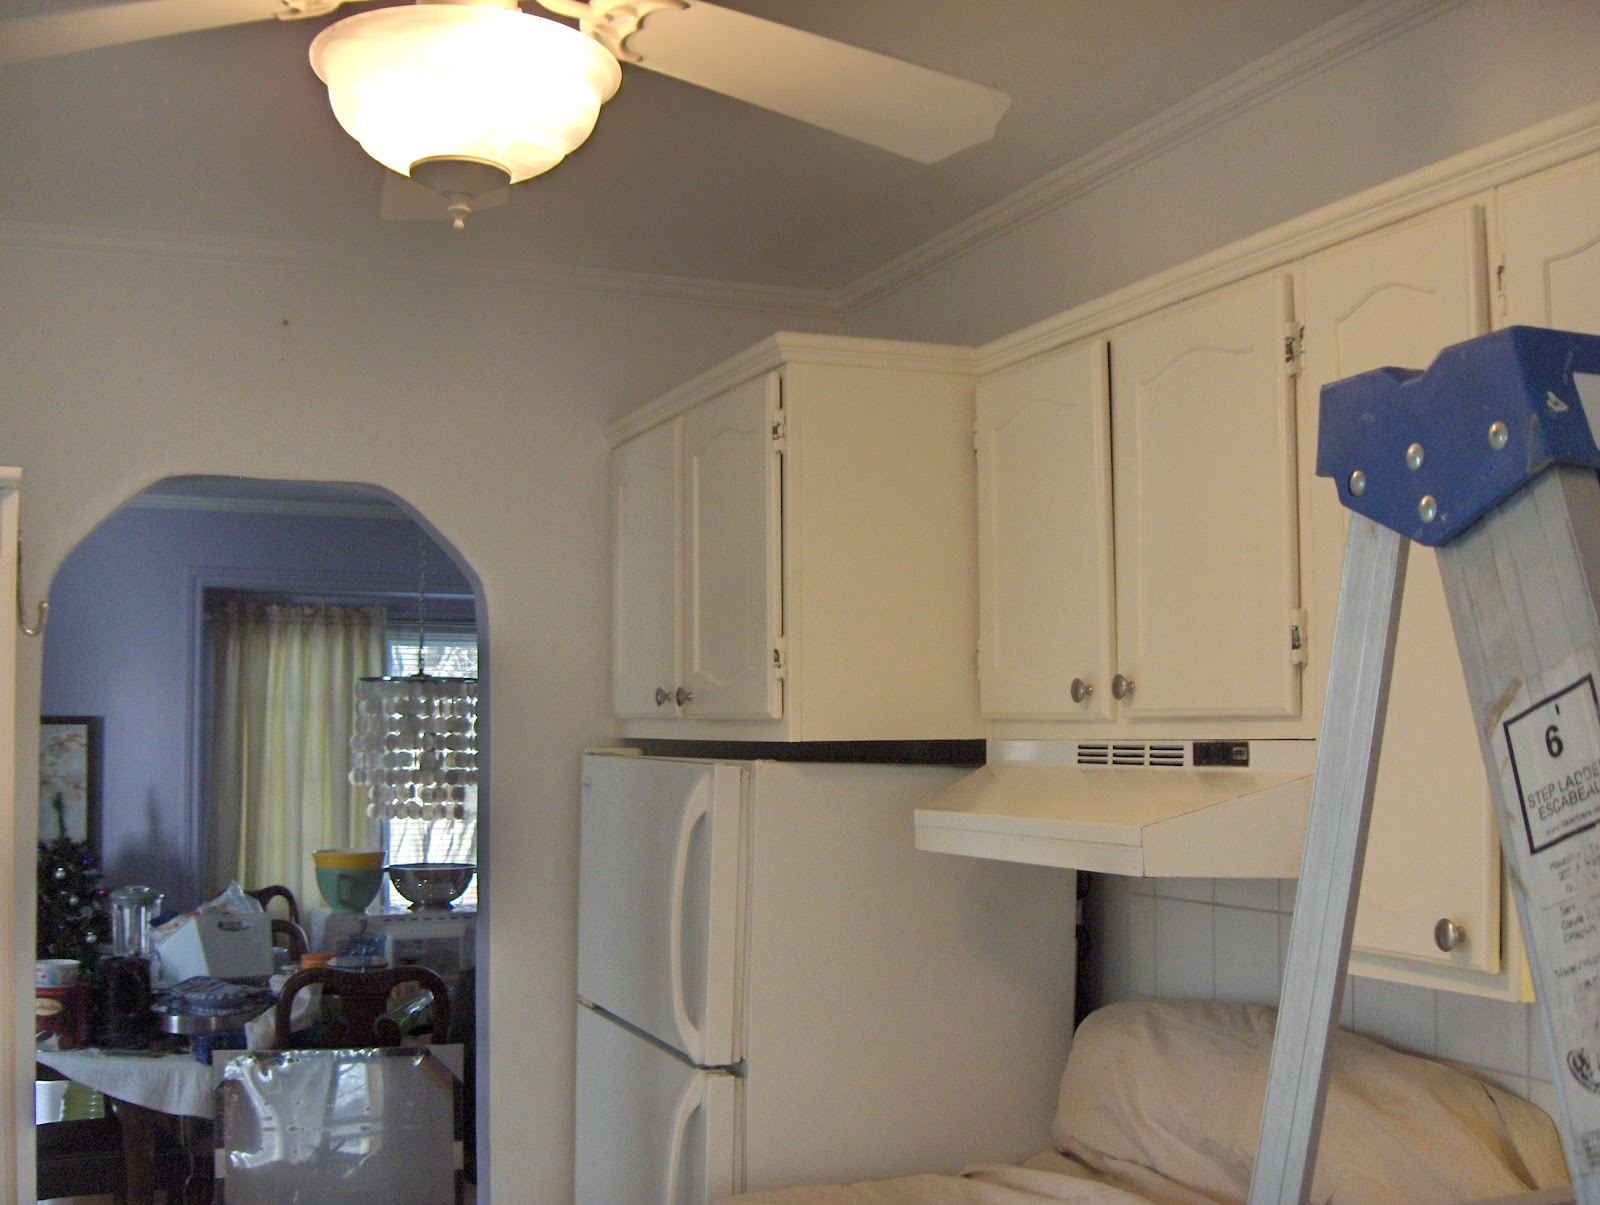
Good morning!  I thought I would give you an update on the progress of my kitchen redecoration.  I'm not quite halfway through.  The walls are painted grey (Sarah Richardson's Para paint SR12 Escarpment), the upper cabinets are painted white (Benjamin Moore's Contractors white), and the cracked wall is covered with anaglypta painted white and topped with a chair rail (sort of - actually a bit of baseboard from the Restore so the profile would fit under the door frame and not be too obvious at the archway).

Cupboard above fridge
Cupboard above stove and counter

Merry Christmas!  The rug wreath was hooked by my father about 30 years ago.

This is the left hand wall leading into the living room.  The rolling pin from a single piece of wood belonged to my Grandmother and is over 100 years old.

My sister, Connie helped me assemble a black metal rack from Home Depot (a steal at $90 and very heavy duty).  The wooden boxes on the top shelf will be painted red (Sarah Richardson's Para paint SR53 Orchard) and some more will be purchased for the second shelf.


So - what is left to do?  Well, I need to paint the bottom cupboards (Behr paint UL260-22 Pencil Point), make new drapes, recover the floor with grey peel and stick tiles, renew the grout on the backsplash, paint the railing black, and then there are some surprise decorative accessories.  My next post on the kitchen will show you the finished product.  Here's a sneak peek of  the drapery fabric with the paint samples fanned out.

November 25, 2011

Kitchen Redux

I started to redecorate my kitchen today - redecorate, not renovate.  I'm dreaming of oceans of granite, traditional white cabinetry, warm wooden floors, recessed pot lights, silvery glowing crystal pendants, an island so big I could happily castaway on it and last but not least, a butlers pantry for the mess and clutter.....What I have is a teeny tiny 8 foot by 12 foot kitchen.  No counter space, laughable storage, chipped laminate counter top, a vinyl floor that has seen better days and a very amateur drywalling job (done by the original owners).  I, myself have very minimal reno skills - carpentry, plumbing and electrical are beyond me but I can put a gallon of paint to good use. 

When I moved in, the flawed walls were covered with a wallpaper that was probably popular in the 70's.  It was a white background with stripes of navy blue that had garlands of tiny navy and pink flowers alternating with the stripes.  So not my taste but it was presentable and I lived with it for a few years.  Finally the wood-tone 70's cabinets with the fake gold filigree handles smack in the middle of each door sent me over the edge.  I started stripping wallpaper and saw how bad the walls were.  They really needed to be taken back to the studs and professionally redone.  However that was beyond my budget as was a professional skim job so I did the best I could.  I painted the entire kitchen white.   Partially this was a reaction to the fussy wallpaper.  I just craved clean and bright and white.  Pragmatically though, it was also a need to be able to paint the ceiling, crown moulding and walls over the basement staircase with a roller on an extension pole instead of paying for scaffolding.  I replaced the cheap fluorescent light with a white fan and had a new tap installed.  The cupboards got a paint job and new knobs.  The bottom cupboards were painted blue because I was limited by the counter top.  However after I started, I realized that Home Depot did not mix the colour I actually requested.  I painted the upper cabinets a cream colour as I thought there was too much white in the room and it needed some warmth.  I also added one of those flat pack white pantry cupboards to help with the storage issues.

I lived with this room for the last couple of years but I admit that I was never happy with it.  The upper cupboards just looked dingy, not warm.  There was way too much white in the room which made everything else looking dirty and tired.  When my white stove died and I replaced it with a stainless steel one, it just looked worse and made me start thinking about changing things again.  The last straw was a hinge breaking on the pantry cupboard with no possibility of replacing it.  As per usual, Sarah Richardson is my inspiration and I started looking at some of her past designs.  I then discovered that I could buy her paint locally and decided now was the time to begin.  I painted the walls today.  See the before pictures below.


The view from the living room doorway into the kitchen.  Kitchen mess all over the dining room table beyond...


View from living room doorway looking down the basement stairs...


Piecrust valance - there used to be a wall along the basement stairs before an addition was added.  The original owners may have thought this was stylish way to hide the beam but I try not to look up!  Unfortunately with the cost of removing it, we'll live with it...

A view of the side door from the middle of the kitchen.  Before the addition, this door used to be at the top of the stairs and you can see where I have repaired the crack in the wall (for about the third time).  Stay tuned to see how I am going to address this defect.

The base cabinets painted blue...


The upper cabinets viewed from the dining room doorway....and here's a sneak peek of the SR paint on the walls...